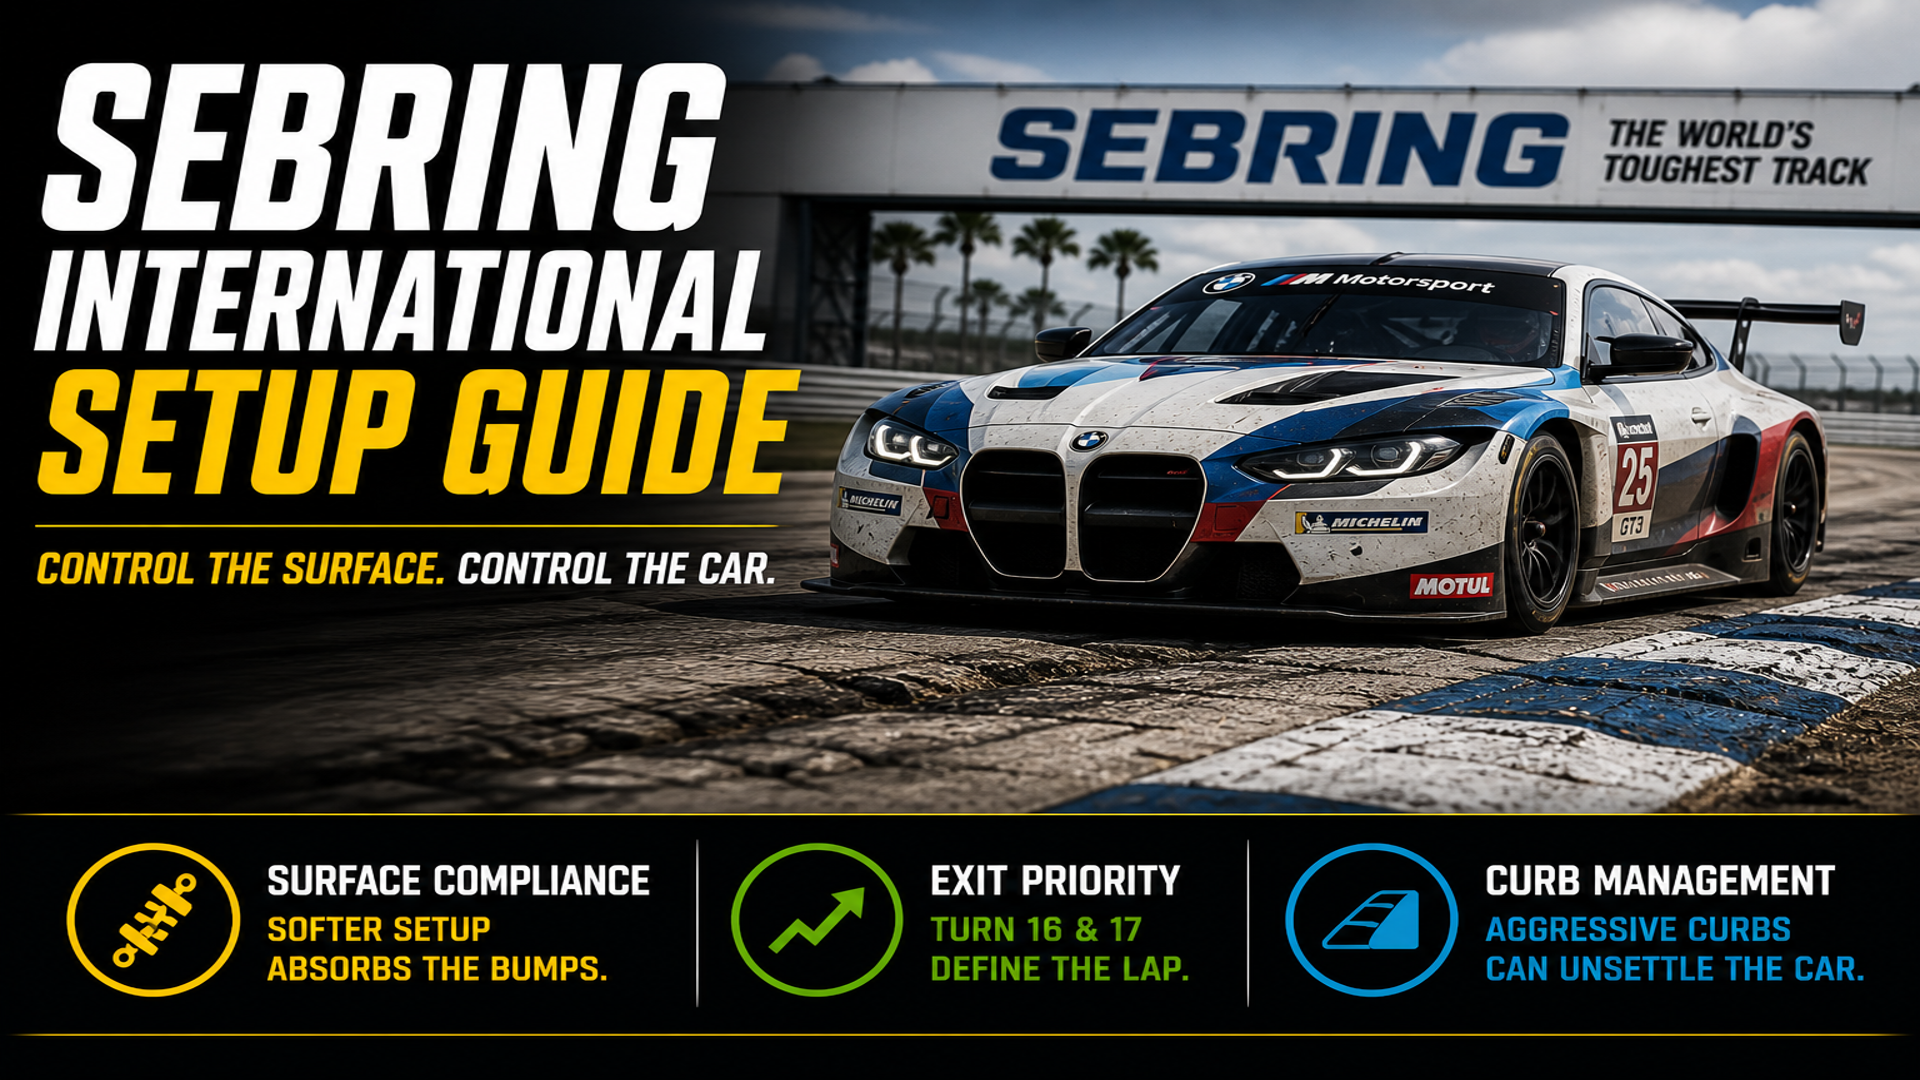
Sebring International Raceway is a fast, technical road course defined by one characteristic above all else: its surface. The track is notoriously bumpy, and those bumps fundamentally shape how the car must be set up. Unlike smooth circuits where stiffness and precision can be prioritized, Sebring demands a balance between control and compliance. The suspension must be free enough to absorb the surface, while still maintaining enough support to prevent instability and bottoming.
Ride height becomes an immediate consideration. The car must run slightly higher than it would on a smoother track to allow sufficient suspension travel over the bumps. At the same time, it must remain low enough to maintain aerodynamic efficiency and stability in the faster sections. This creates a narrow operating window where both mechanical grip and platform control must be balanced carefully.
Aerodynamic setup should remain minimal, with only enough downforce to confidently navigate the fastest section of the track, particularly Turn 14. As with all high-speed circuits, the goal is to carry as much speed as possible while maintaining control, but at Sebring, this must be achieved without compromising the car’s ability to absorb the surface.
By the end of this phase, the car should feel predictable, allowing consistent laps without excessive correction. Only once this foundation is in place should fine tuning begin.
Priorities — Focus on the Straights That Matter
As with any circuit, performance is dictated by the corners that lead onto the longest straights. At Sebring, the back straight is the most critical, making the corner leading onto it the highest priority.
Priority Corner #1 — Turn 16 (Exit onto the Back Straight)
Turn 16 is the most important corner on the track, not only because it leads onto the longest straight, but also because that straight ends in a primary passing zone. A strong exit here sets up both speed and opportunity.
 The setup work begins with entry. The car must rotate under braking and point cleanly toward the apex without hesitation. This is an entry balance problem, where the front tires must generate enough grip to initiate rotation while the rear remains stable. Springs, anti-roll bars, toe, and differential settings all play a role here, with finer adjustments coming from slow damping, particularly at the left-front and right-rear. A later turn-in can help position the car for a more efficient exit.
Once entry is established, the focus shifts to mid-corner balance and throttle application. The goal is to reach full throttle as early as possible, ideally at or even before the apex. Achieving this requires a balanced distribution of grip, where neither end of the car reaches its limit prematurely. Weight distribution, spring rates, and anti-roll bars become key tools in shaping this phase.
The final and most critical element is exit stability. The car must be able to hold full throttle all the way out of the corner without pushing wide or becoming unstable. This is a common point of failure, where understeer can force the car off track or lead to instability if the driver lifts while steering. Differential settings and slow damping are particularly effective here, allowing fine control over how the car applies power and maintains balance under load.
Priority Corner #2 — Turn 17 (Front Straight Exit)
Turn 17 leads onto the front straight and shares many characteristics with Turn 16, but introduces an additional challenge: surface irregularities. The exit of this corner is particularly bumpy, and a setup that is too stiff will make the car difficult to control.
This requires compromise. Spring rates and ride height must be adjusted to allow the suspension to absorb these bumps without upsetting the car. Dampers should also be softened slightly, allowing the suspension to respond more quickly to the changing surface. Both compression and rebound settings should be considered to ensure that the tires maintain consistent contact with the track.
Because this is a high-speed corner, aerodynamic balance also plays a role. However, any changes to aero will affect the entire lap, so adjustments should be made carefully and only when necessary.
Priority Corner #3 — Turn 5 (Setup for the Hairpin)
Turn 5 is the third key corner, as it leads onto a straight that ends at a major braking zone and passing opportunity. The corner itself presents a unique challenge due to aggressive inside curbing. The curb at the apex is tall and abrupt, and contact with it can significantly disrupt the car by introducing sudden changes in load.
Avoiding excessive use of this curb is essential. Entry should be tuned to allow the car to approach the apex cleanly without relying on the curb for rotation. Once again, early throttle application is critical. A strong exit from Turn 5 carries speed through Turn 6 and down the straight, creating opportunities to pass before the hairpin.
The Problem Areas
The complex from Turns 3 through 5 is particularly challenging due to the aggressive curbing. While maximizing track width is generally beneficial, these curbs can easily unsettle the car and lead to loss of control. Adjustments to fast damping can help manage these impacts, but they cannot eliminate the problem entirely. The driver must remain aware of how much curb can be used safely.
Turn 7, the hairpin, introduces a different challenge. Heavy braking combined with a softer, more compliant setup results in significant weight transfer. This can make the car feel unstable if not managed properly. While differential and damper adjustments can reduce some of this behavior, much of the solution lies in driving technique. A slightly earlier braking point and a focus on a clean exit will produce better results than attempting to gain time through aggressive entry.
Turn 11 is another demanding corner, where the goal is to maintain full throttle despite strong lateral forces. The rear of the car tends to become unstable here, and addressing this through setup can provide a significant advantage. A car that can confidently maintain full throttle through this section will gain time where others are forced to lift.
Turn 14 is the fastest corner on the track and must be approached with precision. Full throttle is the target, but in high-power cars, a short shift can reduce the risk of instability. Maintaining a stable platform through this section is critical, as it sets up the braking zone for Turn 15.
onRails Is Here
If you found this guide useful, you’ll want to know about our next-generation setup app: onRails — Setup Creation and Engineering Suite. It combines and replaces both the Setup Developer Tool and Virtual Race Car Engineer into a single redesigned app that runs as a transparent overlay on top of your sim. Includes a live SimReader for seven supported simulators and a brand-new In-Race Engineer for real-time pit-call advice.
Available now on Steam & Itch.io.
Alien Advice — Bias and Line Strategy
The majority of corners at Sebring are right-hand turns, including two of the three priority corners. This opens the possibility of biasing the setup slightly toward right-hand performance. Shifting weight or adjusting spring rates to favor the right side can improve performance in these critical areas, but this comes with trade-offs. Left-hand corners and heavy braking zones may suffer, so this approach should be used cautiously.
 Turn 17 offers multiple viable racing lines, and the choice of line can influence both setup and race strategy. The traditional arc (green) provides strong mid-corner speed but may limit flexibility in traffic. An alternative is the “diamond” line (orange), where the corner is approached with a later turn-in and earlier throttle application. This effectively extends both the entry and exit straights, improving acceleration and top speed. While the diamond line sacrifices some mid-corner speed, it can make the car difficult to pass on the straights. However, it also leaves the driver vulnerable in the middle of the corner to competitors using a more conventional line. Understanding these trade-offs allows both setup and driving strategy to work together.
At Sebring, performance comes from managing the surface. Build a setup that allows the suspension to move freely over bumps while maintaining a stable platform in high-speed sections. Focus on Turn 16 exit, Turn 17 compliance, and Turn 5 positioning, and refine the car through iteration. Balance mechanical grip and control carefully, and use both setup and driving strategy to handle the unique challenges of the track.
You can find more setup guides here
Discover more from Virtual Race Car Engineer
Subscribe to get the latest posts sent to your email.