onRails is an overlay that sits on top of your sim racing game and gives you engineer-style setup guidance in real time. No alt-tabbing, no spreadsheets. You drive, onRails watches, you get told what to change.
This guide covers the Launcher and the settings that apply everywhere. For the two modules themselves, see:
- Setup Developer guide — build a baseline setup from scratch
- Setup Engineer guide — live corner and lap-by-lap advice while you drive
First launch
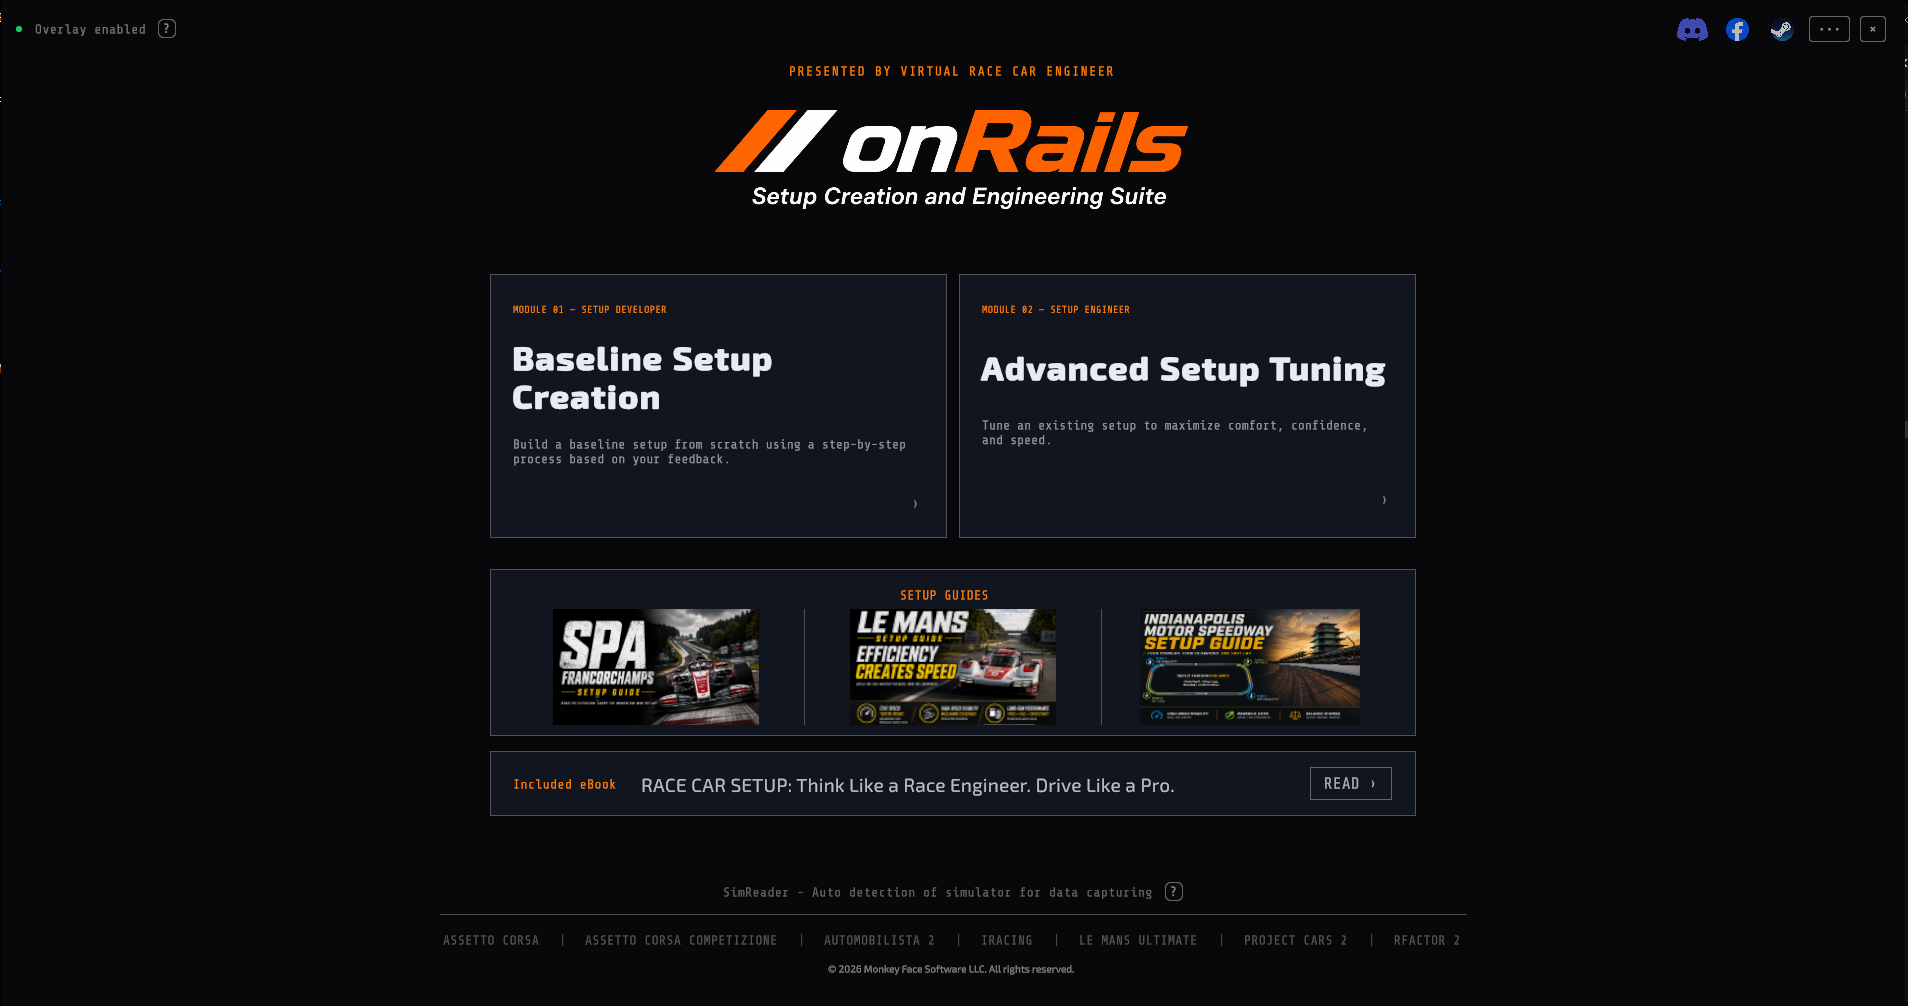
The first time through, a short spotlight tour points out the two module cards and the sim status strip. Click Got It to dismiss each step, or Skip All to jump straight in.
Connecting to your sim

Supported sims: Assetto Corsa, Assetto Corsa Competizione, Assetto Corsa EVO, Automobilista 2, iRacing, Le Mans Ultimate, Project CARS 2, RaceRoom Racing Experience, rFactor 2.
rFactor 2 needs one extra step. Because rF2 has no built-in telemetry API, onRails ships a small plugin (rF2_onRails.dll) that you drop into your rF2 plugins folder. Click the ? button next to the sim strip for the exact install steps — it’s a one-time, two-minute setup.
Le Mans Ultimate note: LMU uses Num 2 and Num 4 for in-cockpit seat adjustment, which overlaps two of onRails’ default hotkeys (see below). If LMU is your active sim, you’ll see a small warning icon next to its name — hover it for details on rebinding.
If nothing lights up, double check your sim is actually loaded into a driving session (not just the main menu) — most readers need you on track before they report data.
Choosing a module
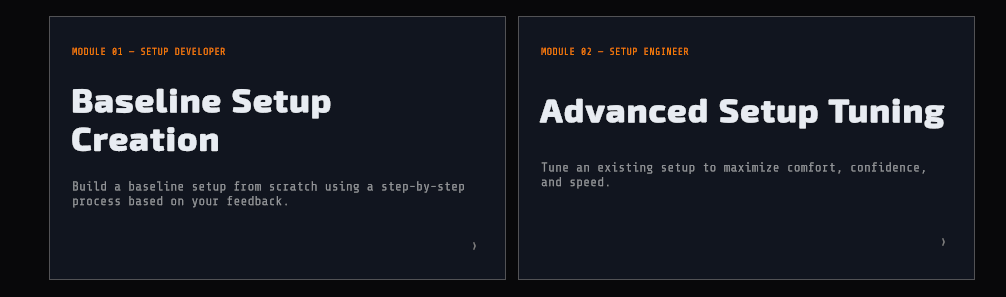
Overlay mode

Your sim needs to be in borderless windowed mode for the overlay to work. A true fullscreen (exclusive fullscreen) game takes over the entire display and won’t let onRails draw on top of it — you’ll either see nothing or the overlay will flicker behind your sim. Switch your sim’s display mode to borderless (or “windowed fullscreen”) in its own video settings before turning the overlay on.
The Launcher itself always opens as a normal window — the overlay toggle only takes effect once you enter SDT or the Setup Engineer.
The menu
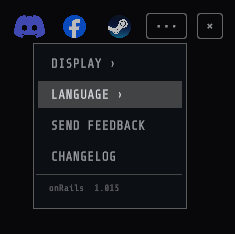
- Display — on a multi-monitor setup, pick which monitor onRails opens on. Useful if your sim runs on one screen and you want onRails on another.
- Language — opens a submenu of every supported language (see below). onRails auto-detects your OS language on first launch, so you shouldn’t need this unless you want to override it.
- Send Feedback — opens a direct line to report bugs or suggest features.
- Changelog — shows what’s changed release to release.
- Version number — at the bottom, so you know exactly what build you’re running when reporting an issue.
Language
onRails auto-detects your system language on first launch. To change it manually, open the ••• menu → Language and pick from the submenu. Currently supported:
- English
- Español (Latinoamérica)
- Español (España)
- Português (Brasil)
- Português (Portugal)
- Deutsch
- Français
- Italiano
- Polski
- Čeština
- Türkçe
- Русский
Changing it applies immediately across the whole app, no restart needed.
Settings that apply everywhere
Open Settings from inside either module (not from the Launcher — settings live one level in). A few things worth knowing on first visit:
- Transparency slider — controls how see-through the overlay is, separate from the on/off toggle above.
- Font size — four steps, useful if you’re running a high-DPI monitor or sitting far from the screen.
- Accent color — four color themes for the UI (default is McLaren orange).
- Card-Style Recommendations — toggles whether setup advice shows as a one-at-a-time card carousel (default) or a scrollable list of tiles. Personal preference, no functional difference.
Getting help
Discover more from Virtual Race Car Engineer
Subscribe to get the latest posts sent to your email.