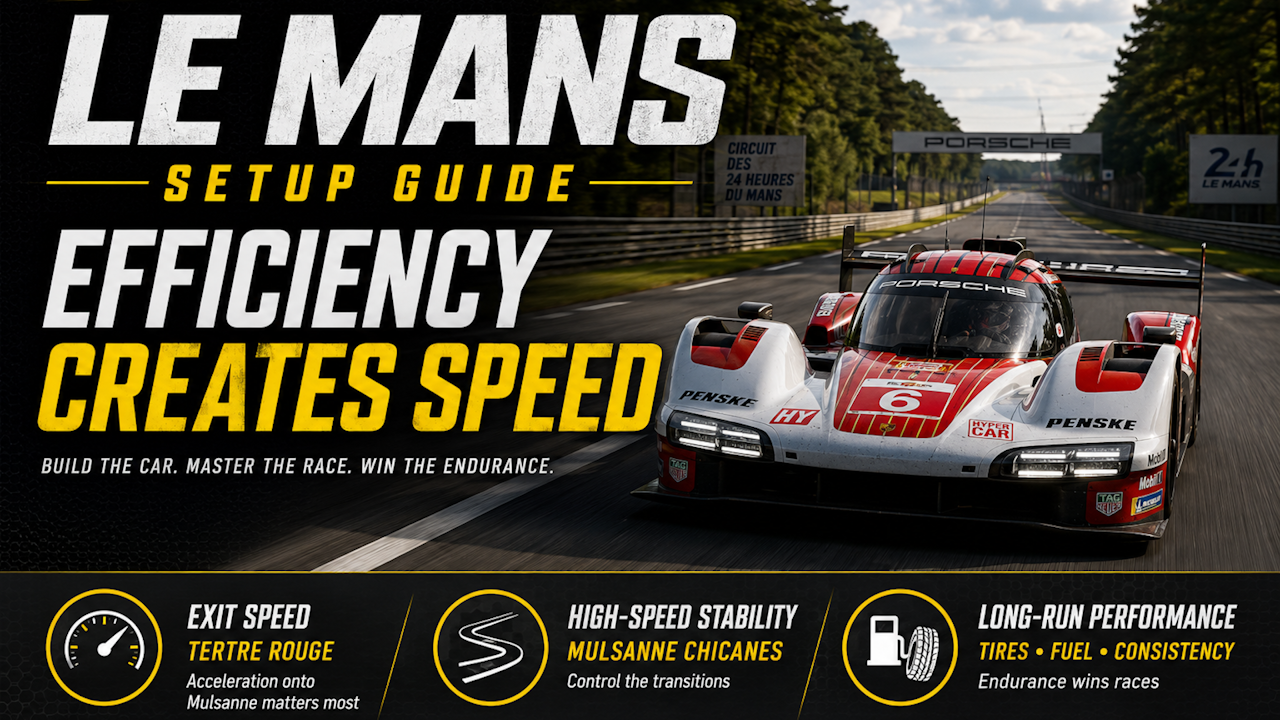
Circuit de la Sarthe (Le Mans)
At 13.6 kilometers, Le Mans is nearly double the length of most permanent road courses, and that scale changes everything about how you build a setup. Tire degradation, fuel efficiency, braking stability, and long-run consistency matter far more here than at a sprint circuit.
Don’t mistake endurance for slowness. The Mulsanne Straight exposes an underpowered or poorly configured car immediately, and the time lost there compounds quickly over a stint. The Porsche Curves, Dunlop Esses, and the Mulsanne chicanes all demand precision and confidence at very high speed. This is a brutally fast track that also punishes inefficiency.
 Your setup must deliver all of this simultaneously:
- high-speed stability
- strong acceleration off slow corners
- predictable braking behavior
- mechanical compliance through transitions
- long-run tire management
A setup that produces one spectacular qualifying lap but overheats the tires or punishes the driver will lose over the course of a race. Build for the race, not the hotlap.
Starting Setup — Build for Stability at Speed
Le Mans naturally pushes you toward low downforce, and the reasoning is straightforward: long straights, high average speeds, and a lap length that rewards efficiency over peak grip all point in the same direction. The instinct to reduce aero drag is correct. The mistake is doing it too aggressively.
The lap is still won or lost through the transitions between straights. The Porsche Curves, Dunlop Esses, and the approach phases into the Mulsanne chicanes all require stability and confidence at very high speed, and a car that feels nervous in these sections forces hesitation. Hesitation costs far more lap time than a few extra kilometers per hour at the end of a straight.
Start with a medium-low downforce configuration that still provides enough support to maintain confidence through the fast sections. What matters most is not absolute top speed but how quickly your car reaches that speed after corner exit. A slightly lower terminal velocity is irrelevant if you can apply throttle earlier and accelerate more efficiently.
Mechanically, bias toward stability and predictability. Dampers and differential settings are especially important because so many critical corners combine heavy braking with immediate, aggressive throttle application, and your suspension must stay composed through those transitions to let you attack braking zones without unsettling the rear.
A setup that generates excessive tire slip or forces constant correction may feel fast early in a stint, but softer spring and damper settings than you would run in a sprint race will often produce better overall race pace because they reduce tire stress and keep the car consistent across a full fuel run.
The fastest Le Mans setup is rarely the most dramatic one. It’s the one that stays calm lap after lap.
Priority Corner #1 — Tertre Rouge (Turn 6)
Tertre Rouge is where you make your money. This fast right-hander feeds directly onto the Mulsanne Straight, and your exit speed here determines whether you spend that straight attacking or defending.
The corner demands a setup that handles two distinct phases well. Entry must feel responsive without becoming nervous: the car needs to rotate confidently while remaining stable enough that you trust it completely. Springs and aerodynamic balance set the broader character, but dampers control the timing of weight transfer under braking and toe-out controls the initial rotation. A mediocre setup reveals itself here quickly. The front resists rotation and you find yourself waiting before getting back to throttle, or the rear goes unstable under trail braking and forces hesitation at entry. Either way, you’ve already compromised the phase that matters most.
Once you reach the apex, everything becomes about acceleration. This is not simply about getting back to full throttle. It is about controlling how all of that power is delivered through the rear tires. A poor setup pushes toward the outside wall as power goes in, forcing you to lift or reduce input. A strong setup stays planted while still rotating naturally, letting you apply throttle earlier and accelerate harder onto the straight. Dampers remain important here, but differential settings are just as critical for maintaining grip and composure as power builds. The gains compound quickly because every extra kilometer per hour you carry onto the Mulsanne stays with you all the way to the first chicane.
Priority Corners #2 — The Mulsanne Chicanes
The Forza and Michelin Chicanes combine extremely high-speed approaches with rapid directional changes and hard braking, and they are best understood as complete sequences rather than isolated corners. Surviving them is not the goal. Using them to create an overtaking opportunity at Mulsanne Corner is.
Your car arrives here at enormous speed, and aerodynamic balance continues to play a significant role in stability even during the initial braking phase. A car that goes unstable under braking forces you to reduce aggression well before the apex, and that compromises everything that follows.
Corner entry sets your position through the rest of the sequence. Rotation through the center of the chicane is managed primarily through springs and anti-roll bars, which control lateral weight transfer as the car reverses direction from one apex to the next. Get this right and you can already begin applying throttle before reaching the final apex. That is where lap time is made, and it is only possible when the setup stays stable through the direction changes.
The Michelin Chicane is slightly tighter than the Forza and leads directly into one of the best passing opportunities on the circuit. A strong exit carries momentum all the way to the braking zone for Mulsanne Corner. A weak one hands that opportunity to the car behind you.
Priority Corner #3 — Mulsanne Corner (Turn 9)
Mulsanne Corner is a hard right-hander that arrives after another long stretch at maximum speed and feeds directly into the next acceleration zone. Like Tertre Rouge, it is defined entirely by exit speed.
The braking phase must stay stable despite the enormous speeds involved. Locking a tire or pushing into understeer compromises the entire corner and kills acceleration onto the straight that follows. Your car must rotate smoothly and predictably.
Dampers, differential, and toe-out are the primary tools here. Together they control the transition from braking to rotation to throttle, and a well-balanced setup lets you release the brakes naturally, rotate cleanly, and get back to power without unsettling the rear. The objective is not to navigate the corner. It is to complete the sequence cleanly enough that you are already at full throttle as the car unwinds.
The Problem Areas — Arnage and Ford Chicane
Arnage matters not for what the corner is, but for what follows it. A poor exit leaves you trapped behind slower traffic through the Porsche Curves, which are among the most difficult sections on the circuit to overtake. The Porsche Curves reward rhythm and confidence, and once a slower car breaks that rhythm, the time loss is significant and largely unavoidable.
The same logic applies to the Ford Chicane at the end of the lap. A weak exit there leaves you stuck behind traffic through the Dunlop section and Esses, compromising a large portion of the following lap. In both cases the damage is not the corner itself but the chain reaction it sets off.
That dynamic also works in your favor. Drivers who understand how difficult overtaking is through these rhythm sections can control the pace of the cars behind them, disrupting momentum and forcing mistakes.
Overlooked Tuning — Gear Ratios
Gear ratios are easy to overlook and costly to get wrong. At a track where such a large portion of the lap is spent accelerating from medium or low speed back toward maximum velocity, gearbox optimization produces real gains over the course of a race.
The first priority is making sure your car does not need an upshift during the exit phase of a critical corner. If you are still unwinding steering lock when the shift comes, the interruption costs you momentum for the entire length of the following straight. The exit gear should carry you cleanly through the full corner exit before an upshift is needed.
Beyond that, the remaining ratios should keep the engine in its strongest power range for as much of the lap as possible, reducing the time spent waiting for revs to climb back into the zone where the car actually accelerates well.
These gains look small in isolation. Over the course of an endurance race, they are not.
onRails Is Here
If you found this guide useful, you’ll want to know about our next-generation setup app: onRails — Setup Creation and Engineering Suite. It combines and replaces both the Setup Developer Tool and Virtual Race Car Engineer into a single redesigned app that runs as a transparent overlay on top of your sim. Includes a live SimReader for nine supported simulators and a brand-new In-Race Engineer for real-time pit-call advice.
Available now on Steam & Itch.io.
Alien Advice — Endurance Wins the Race
Tire degradation compounds. A setup that generates excessive slip feels fast for the first few laps, but as tire performance falls away deeper into the stint those laps become very expensive. A more forgiving mechanical setup that preserves the contact patch will produce faster average pace over a full fuel run. That is the trade you are actually making.
Softer mechanical settings than you would run in a sprint race are often the right call here. A stable, compliant car reduces tire stress, improves consistency, and lets you maintain confidence and commitment further into a long stint.
The second concept is lift-and-coast. Drivers who master it can match lap times while using meaningfully less fuel and reducing braking stress simultaneously. Over a long race, that can remove a pit stop entirely or shorten refueling time enough to change the outcome.
Asymmetrical setups are worth attention at Le Mans. Most of the priority corners are right-handers, with the notable exception of the Michelin Chicane exit, and a slight bias toward right-hand corner exits can produce small but real gains. Don’t overcommit to it. Too much asymmetry compromises balance elsewhere and the cost quickly outweighs the benefit.
Finally, resist the temptation to chase minimum downforce for top speed. The car that reaches full throttle earliest usually beats the car with the highest terminal velocity. The sooner your car reaches maximum speed, the longer it spends there. A slightly lower top speed is irrelevant if the car behind you spends the entire straight trying to close the gap.
Final Thoughts — Efficiency Creates Speed
Le Mans rewards efficiency more than aggression. Build a setup that is stable under braking, confident at high speed, and composed under throttle. Prioritize acceleration over absolute top speed, protect the tires over long stints, and maintain rhythm through the fast sections.
Master Tertre Rouge, attack the chicanes with commitment, and maximize every acceleration zone on the circuit. Over a single lap these gains are significant. Over an endurance race they are decisive.
Speed at Le Mans is not built through isolated moments of brilliance. It is built through consistency, efficiency, and the ability to sustain performance long after the faster setups have given up their tires.
You can find more setup guides here
Discover more from Virtual Race Car Engineer
Subscribe to get the latest posts sent to your email.