Overall track summary
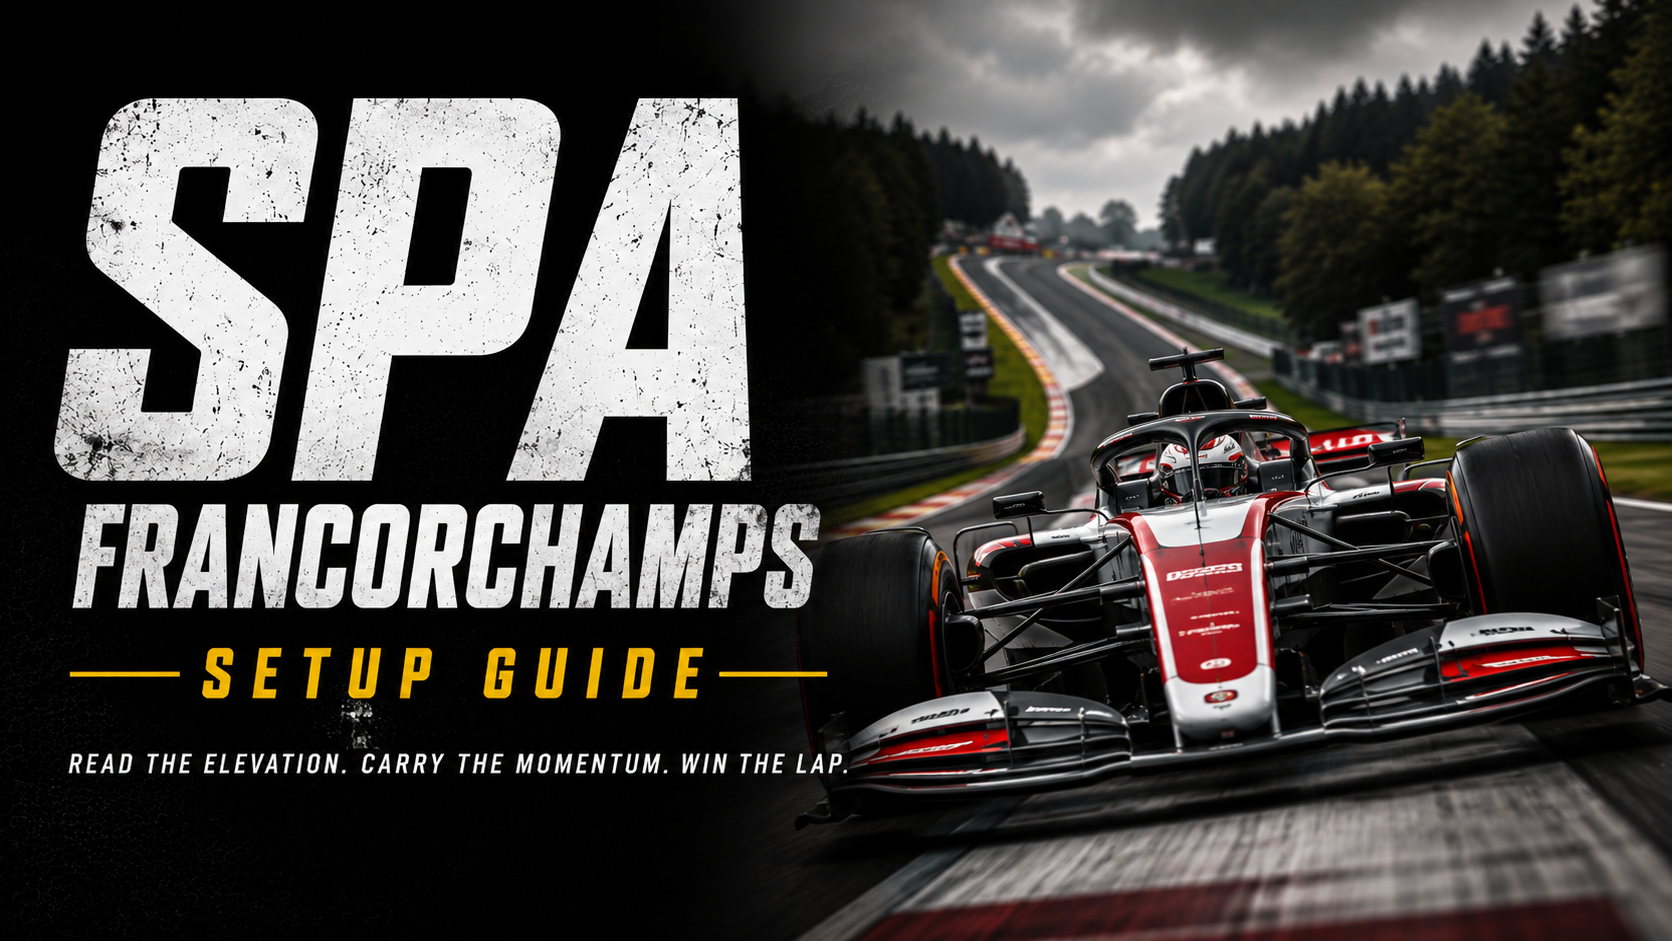
Spa-Francorchamps is a high speed road course built on elevation change. From the bottom of Eau Rouge to Les Combes, the track climbs significantly, and it keeps moving up and down for the rest of the lap. Your setup needs to handle compression at Eau Rouge, the crest at Raidillon, and long duration high speed corners at Pouhon, all while still braking hard and rotating cleanly through La Source and the Bus Stop chicane. This is a track that punishes a setup built for only one kind of corner.
Priority corners
 Priority #1 is always the corner leading onto the longest straight. Spa breaks this rule. While the stretch between Stavelot and the Bus Stop chicane is the longest stretch of full throttle (not straight, but full throttle in many car types) it is also winding enough to offer some protection from being attacked by slightly faster cars. Instead, I’d put the next longest stretch of full throttle as our priority: Eau Rouge through the Kemmel Straight.
I choose the Kemmel Straight as our longest straight, not due to the actual length, but because of the importance it poses to lap times. The straight climbs in elevation so any lack of speed at the exit of Eau Rouge compounds for every meter of the Kemmel Straight. Having a setup that deals with the compression into Eau Rouge, and holds a stable line through the exit will be worth more lap time than any other sequence of corners on the track. Springs, dampers, and aerodynamics are your leading tools to handle this task. First and foremost, the goal is to prevent a loss of suspension travel during the compression between turns 3 and 4, where the track dips dramatically. If the car chassis, or the suspension itself, bottoms out, then you are no longer in control. This unique problem begs for stiffer springs, and likely stiffer compression damping, to ease the risk of bottoming. Due to the high speed nature of the corners, aerodynamics will play a large role in how the car changes direction through Eau Rouge. The goal is simple to put into text, but difficult to achieve in reality: enter Eau Rouge with as much speed as possible, lose as little speed as possible at the dip, be back on full throttle as early as possible, and have a well-controlled car at the exit so you carry more speed all the way up Kemmel Straight.
Priority #2 is another exception as it is still not the next longest straight. Instead, I would place the straight between La Source (T1) and Eau Rouge as the next most important. This is primarily due to the importance of Eau Rouge. The last thing we would want is to have a car attacking from behind on the straight as it would compromise Priority #1, so La Source is vital.
We start with a late turn-in, which reduces the radius of the corner exit. Less radius means more straight, and more straight means you can be on the throttle earlier. Your car must rotate early in La Source and be back to full throttle well before the exit curb. Target the apex itself. This is a mechanical grip problem first. Springs, antiroll bars, and the differential-coast get the car turned without scrubbing speed. Slow bump on the left-front corner and slow rebound on the right-rear corner clean up the final few percent of rotation. Differential-power and damper (this time left-rear-compression and right-front-rebound) are the tools at corner exit. Get La Source right, and you have claimed the ideal line into the most important corner sequence of Eau Rouge.
Priority #3 is finally the longest stretch of full throttle on the track and it all begins at Stavelot. Stavelot itself is a mid-speed corner. Some braking is required, but not as much as one might think. The braking action is more to get the nose of your car settled and turning than it is to reduce any significant amount of speed. Get it done early. There is no time to be made trying to brake late into Stavelot, only time to lose. Once the car rotates to the apex, you must immediately get back to full throttle. The goal is not to be at full throttle at the exit curb, or even the apex itself, but BEFORE the apex. Diff and dampers at corner entry, ARB at apex, then diff and dampers for corner exit again, just like La Source, but with a little aerodynamic force assisting thanks to the corner speed.
Once fully exited from Stavelot, you can carry full throttle through Curve Paul Frere (use every inch of track) where the goal turns to straight line speed all the way to the Bus Stop Chicane. Because Kemmel Straight and the stretch between Stavelot and the Bus Stop are both long full throttle zones, low drag is worth more at Spa than at most tracks. If you are giving up mechanical grip at Pouhon or the Campus chicane for a lower drag aero setup, that trade is usually correct here. Spa rewards straight line speed more than it punishes a slightly slower car in those high speed corners.
The problem corner
 Eau Rouge-Raidillon. In most cars this is almost flat throttle, but only if your setup handles the compression at the bottom and the crest at the top without bottoming out or getting light. Too much ride height and you lose the aero and mechanical grip you need through the left-right-left transition. Too little and you bottom out under compression, which unsettles the car right as it goes light over the crest. Get this wrong and you either lift, which costs speed all the way up Kemmel Straight, or you get loose at the top and end up in the wall.
onRails Is Here
If you found this guide useful, you’ll want to know about our next-generation setup app: onRails — Setup Creation and Engineering Suite. It combines and replaces both the Setup Developer Tool and Virtual Race Car Engineer into a single redesigned app that runs as a transparent overlay on top of your sim. Includes a live SimReader for nine supported simulators and a brand-new In-Race Engineer for real-time pit-call advice.
Available now on Steam & Itch.io.
Alien advice
Gearing. Use every gear wisely. Spa has one of the widest speed deltas of any track on the calendar, from a near stop at the Bus Stop Chicane to well over 300 km/h down Kemmel Straight. That range tempts you toward a short first gear for the chicane exit and a tall top gear for the straights, leaving everything in between as wasted ratio spread. Build your first gear around the exit of the Bus Stop Chicane specifically, tall enough to carry you from the apex all the way through the exit without another shift. Set your second gear for La Source, again tall enough to propel the car all the way through the exit without interruption. Any gear change mid-corner, or right as you’re unwinding the wheel at exit, breaks your momentum at the exact moment you need it most. Les Combes, Malmedy, Rivage, No Name, and Les Fagnes all deserve the same treatment. Find the gear that best suits each, and maximize your apex-through-exit acceleration. The real goal of your gearing is not top speed alone: it’s keeping the engine in its power band for as much of the lap as possible. Every unnecessary shift, whether mid-corner or mid-straight, is a moment you are out of the power you paid for.
ARB and diff decide the long duration corners. Rivage and Pouhon are both extended, high load corners where the car spends real time at the limit instead of snapping through a transient. In corners like this, spring and damper tuning matter less than they do at La Source or Stavelot, because the car has had time to settle into a steady state. What you feel instead is the balance set by your antiroll bars and differential lock. Too much rear ARB or too much power lock and the car pushes wide the longer you hold the corner. Too little of either and the rear keeps tightening the line until it steps out. Because these corners last so long, small changes here are amplified over the full duration of the corner rather than a single moment, so adjust in small steps and pay attention to how the car behaves at the start of the corner versus the end.
You can find more setup guides here
Discover more from Virtual Race Car Engineer
Subscribe to get the latest posts sent to your email.