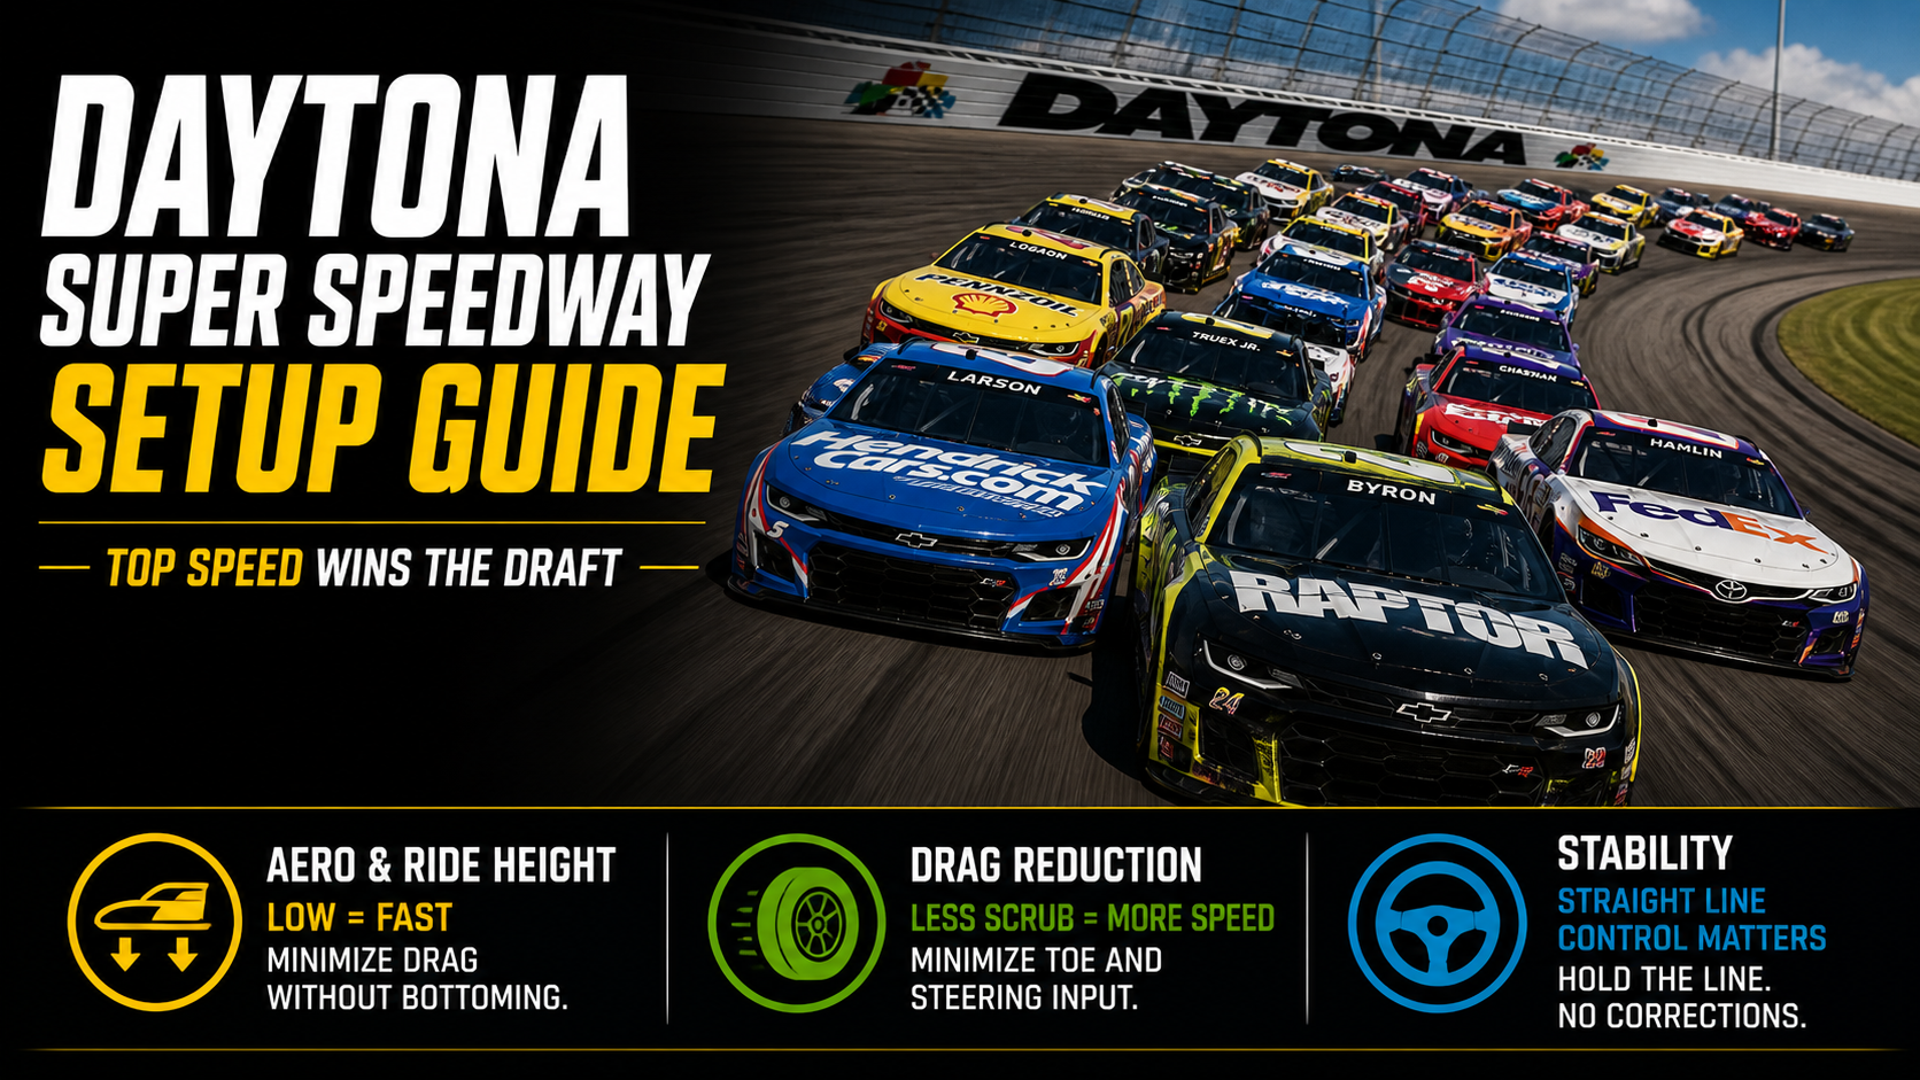
The Daytona Superspeedway is all about top-end speed. The faster your car is at the end of the straight, the easier it becomes to move through the pack and into the lead draft. Once you are running with the front group, you have a real chance to compete for the win. Being stuck mid-pack or further back not only limits your ability to advance, but also increases your risk of being caught in the inevitable multi-car crashes that define Superspeedway racing.
Priorities
Priority number one is top-end speed. Even the least experienced drivers know the basics: high grille tape, low spoiler angle, and a final gear ratio tuned for top end. To gain an advantage beyond that, you need to go further. The real gains come from the details most drivers overlook.
The first area to focus on is ride height. Lower is better, as reducing ride height decreases aerodynamic drag. The challenge is preventing the car from bottoming out, which creates drag and reduces speed. This is where spring tuning becomes important. While the old saying “soft is fast” often applies in lower-speed conditions, it becomes less relevant at superspeedway speeds where aerodynamics dominate.
A practical approach is to increase all spring rates evenly, adding roughly 50% across the board, then rebalance the car with small adjustments to springs and anti-roll bars. From there, lower the chassis further, using the higher spring rates to prevent bottoming. Continue working this balance in both directions: increase spring rate if it allows a lower ride height, or reduce it if you are already at the minimum height. The goal is to run the lowest ride height and the softest springs possible without bottoming in the banking.
Aerodynamic drag is only part of the equation. Mechanical drag also limits your top speed, and much of it comes from the tires. Any misalignment creates scrubbing, which directly reduces speed. Minimizing front toe-out and rear toe-in helps reduce this drag, but there is a balance to consider. Because the car spends a significant amount of time cornering, some front toe-out may still be necessary to allow the tires to follow their natural paths through the turns. There is no single correct value, but keeping toe settings as low as possible is always a strong starting point.
Another major source of mechanical drag is steering input. Every movement of the steering wheel costs speed. A car that wanders down the straight requires constant correction, and that correction reduces top-end performance. Stability is critical. Increasing caster helps the car track straight, reducing the need for steering input. It also improves dynamic camber during cornering, allowing the car to maintain better grip when the wheel is turned. A well-balanced car allows you to unwind the steering earlier, use the full width of the track, and carry more speed onto the straight.
Corner Focus — Turn 2 and Turn 3
There are two key areas to focus on: Turn 2 and Turn 3. Turn 2 leads onto the longest straight, while Turn 3 is the primary passing zone.
Exiting Turn 2 without the car pushing up the track is essential. Focus specifically on corner exit behavior. Adjustments to the track bar and dampers will help you achieve the desired balance, but these changes may introduce side effects in Turn 1 and Turn 3 entry. Those can be corrected with further refinement through the same process. A strong Turn 2 exit allows you to hold the inside line while competitors drift outward, creating clear passing opportunities as you approach Turn 3.
Turn 3 is equally important, but for a different reason. Entry stability here determines whether you can take advantage of those opportunities. The car must be able to hold a low line without climbing the banking, even when running in a draft. Using the Corner Wizard again, focus on front toe-out, damping, and cross-weight adjustments to maintain control at the apex. When combined with a strong Turn 2 exit, this creates a powerful advantage, allowing you to move through the field with consistency.
onRails Is Here
If you found this guide useful, you’ll want to know about our next-generation setup app: onRails — Setup Creation and Engineering Suite. It combines and replaces both the Setup Developer Tool and Virtual Race Car Engineer into a single redesigned app that runs as a transparent overlay on top of your sim. Includes a live SimReader for seven supported simulators and a brand-new In-Race Engineer for real-time pit-call advice.
Available now on Steam & Itch.io.
Alien Advice
The adjustments above will make you faster and more competitive. But there is one area most drivers overlook entirely: gearing. Get it right, and it pays off on restarts, pit exits, and every moment the pack bunches up.
At first glance, gearing seems irrelevant at Daytona since most of the lap is spent in a single gear. The moments where other gears are used are exactly where positions change.
If pit stops are involved, first gear becomes critical. A higher first gear ratio allows the car to accelerate more quickly from a standstill, reducing the total time spent exiting the pit stall and reaching pit speed. During caution periods, when the entire field is pitting, even a small advantage here can translate into gaining positions. Beating another driver to the pit exit line by even a fraction of a second can secure track position that is difficult to regain later.
Restarts introduce another opportunity. First gear is often not ideal for restart speeds, but second gear can be optimized for this situation. Spend time in practice to understand typical restart speeds, then set second gear so the engine is already in a strong portion of its power band when the throttle is applied. It should deliver immediate acceleration without forcing an early shift.
Third gear should then complement second, keeping the engine within its optimal range as speed builds. This allows stronger acceleration through the opening corners and onto the back straight. If your competitors have not optimized their gearing in this way, you will gain an advantage at one of the most critical moments in the race.
Finally, execution matters. Practice pit entry under green flag conditions, not just running at full throttle. Know your braking point, understand how much pressure the rear tires can handle, and refine this until it becomes automatic. Small gains here can make the difference between leading a line of cars and being stuck behind them.
You can find more setup guides here
Discover more from Virtual Race Car Engineer
Subscribe to get the latest posts sent to your email.