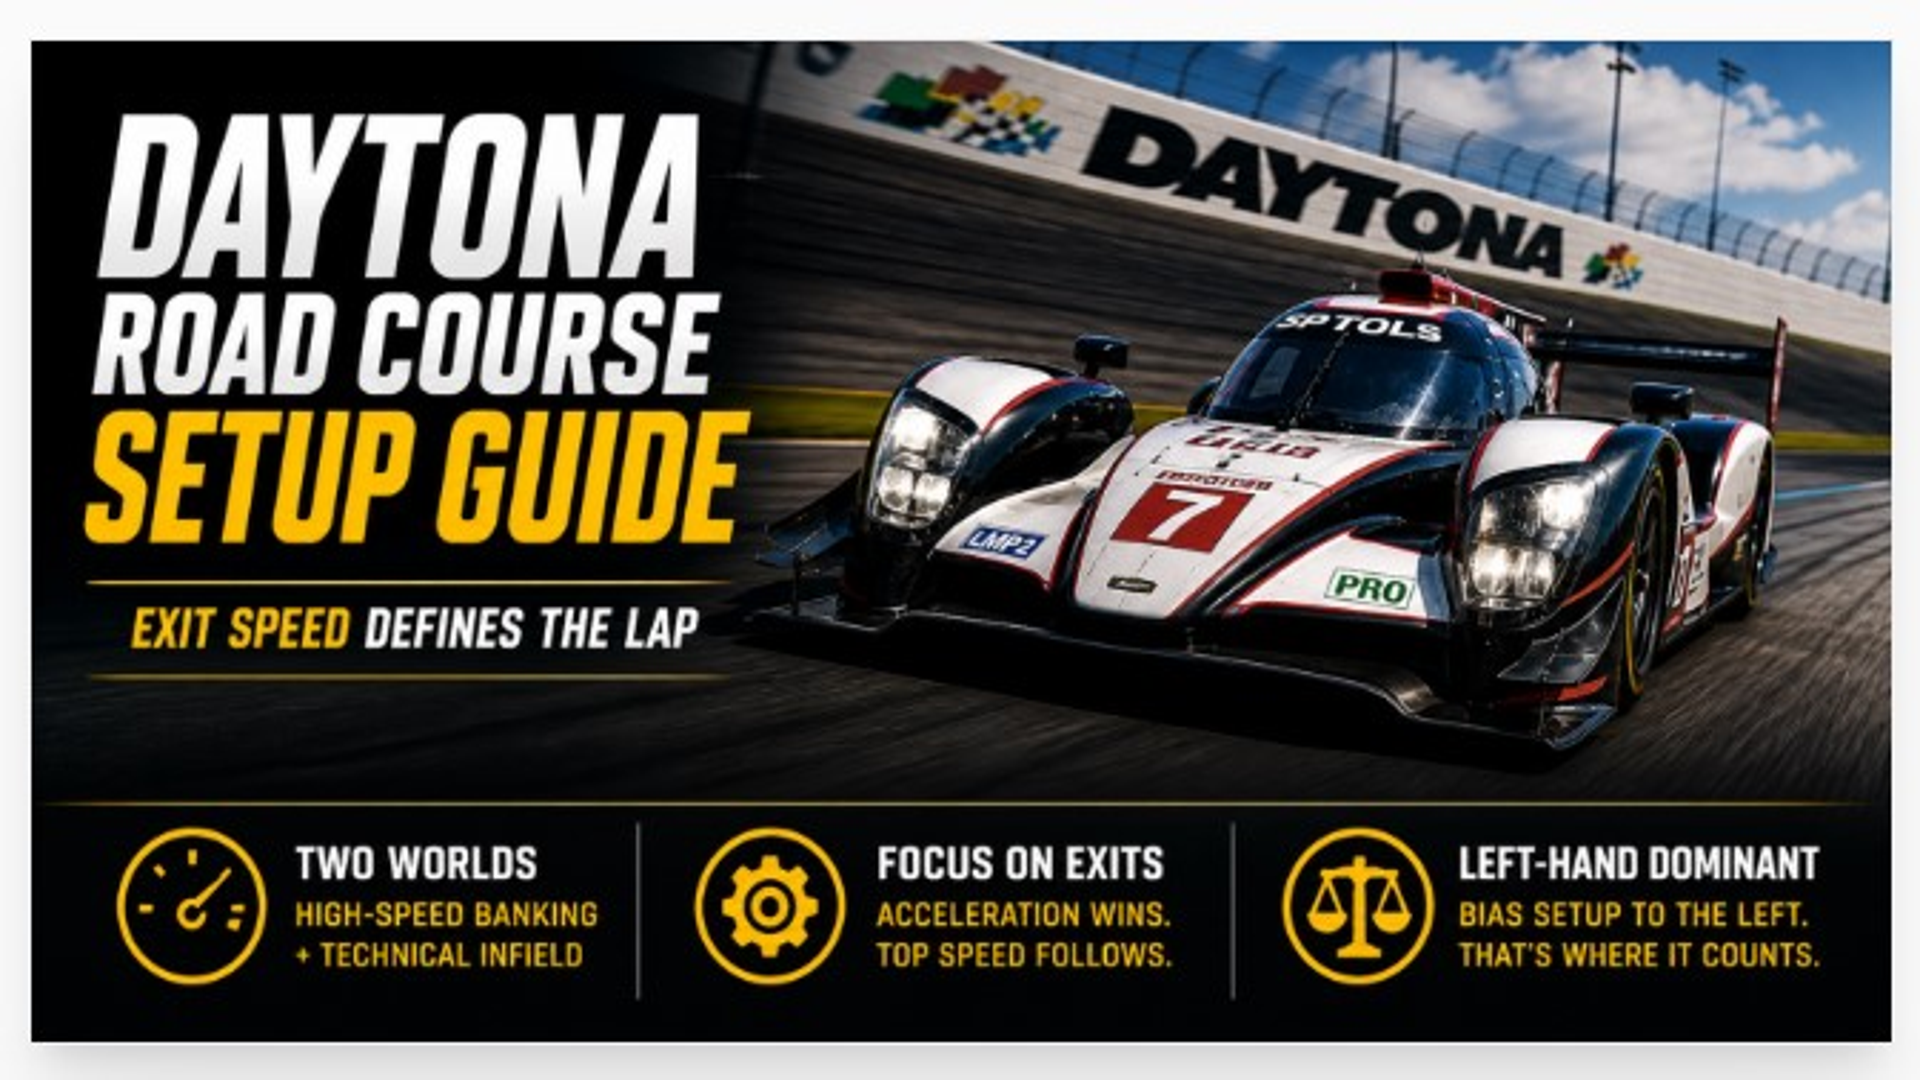
The road course configuration at Daytona International Speedway combines high-speed banking with technical infield sections, creating a setup challenge that blends two very different worlds. The car must be efficient and stable at speed on the oval, while still maintaining the grip and control needed to navigate slower, more technical corners.
At a glance, this might suggest a simple approach: reduce downforce, lower the car, and maximize speed. In reality, performance at Daytona is defined not just by top speed, but by how quickly the car reaches it. A car that accelerates effectively out of critical corners will outperform one that is faster only at the end of the straight. This introduces two key priorities: maximizing grip at corner exit and optimizing gearing for acceleration.
A strong baseline setup should reflect these demands. Low downforce, low ride height, and relatively stiff springs help maintain speed on the banking, but they must be balanced carefully to preserve control through the infield.
Priorities — Exit Speed Defines the Lap
As with all circuits, the most important corners are those that lead onto the longest straights. At Daytona, two sections stand out: Turn 6 and the exit of the bus stop chicane, with the latter being the most critical due to its direct connection to the longest straight and the primary passing zone at Turn 1.

Priority Corner #1 — Bus Stop Chicane Exit (Turn 9 Focus)
Performance through the chicane is defined by how early the car can return to full throttle. This process begins before the exit, starting with the approach and entry into the chicane itself. Over-driving the entry will compromise the entire sequence, making it difficult to achieve a clean line through Turn 9 and into the exit.
Turn 9 becomes the key reference point. The car must be positioned correctly to allow a smooth transition through Turns 10 and 11, ideally without requiring any lift. Achieving this requires a stable platform and precise balance, allowing throttle application as early as possible, sometimes even before the apex.
The curb at Turn 9 is relatively forgiving and can be used without significantly upsetting the car, but it should not be overused. A clean track-out is more important, as it sets up the line for the remainder of the chicane and ultimately determines exit speed onto the banking.
Using the Lap Wizard to establish overall balance, followed by the Corner Wizard to refine Turn 9 specifically, allows targeted adjustments to maximize exit performance. The earlier full throttle can be achieved, the greater the advantage down the entire straight and into Turn 1.
Priority Corner #2 — Turn 6 (Back Straight Exit)
Turn 6 plays a similar role, leading onto the back straight and offering another opportunity to gain time through acceleration. As with the chicane, success here depends on a sequence of well-managed phases.
The car must rotate effectively on entry, settle by the apex, and provide enough grip to allow early throttle application on exit. Each of these phases can be tuned using the Corner Wizard, with dampers playing a particularly important role in shaping how the car transitions between them.
A well-balanced setup will allow throttle application at or before the apex, maximizing acceleration and reducing the time required to reach top speed. This advantage compounds over the length of the straight.
The Problem Corner
Turn 1 presents the greatest risk on the track, combining heavy braking with a transition from the banking to the flat infield. This change in surface angle occurs at the same moment the car is near its braking limit, making it highly susceptible to instability. The most common issue is rear instability under braking, which can quickly lead to a spin. Preventing this begins with setup choices. Moving brake bias slightly forward reduces the likelihood of rear lockup, while softer rear damping allows the suspension to absorb the transition more smoothly.
Driving technique also plays a significant role. Braking slightly earlier and easing off the brake pressure through the transition can maintain stability. Approaching the corner with a wider line reduces lateral load on the tires, further improving control. Avoiding mistakes here is often more valuable than gaining time elsewhere, as a single error can cost multiple positions.
onRails Is Here
If you found this guide useful, you’ll want to know about our next-generation setup app: onRails — Setup Creation and Engineering Suite. It combines and replaces both the Setup Developer Tool and Virtual Race Car Engineer into a single redesigned app that runs as a transparent overlay on top of your sim. Includes a live SimReader for seven supported simulators and a brand-new In-Race Engineer for real-time pit-call advice.
Available now on Steam & Itch.io.
Balancing the Lap — Left vs Right
The Daytona road course is dominated by left-hand corners, including most of the high-impact sections of the track. Turn 9 is the only right-hand corner with significant influence on lap time, while other right-hand turns play a lesser role in overall performance.
This opens the possibility of biasing the setup toward left-hand performance. By optimizing the car for the more critical corners, overall lap time can be improved even if performance in less important areas is slightly reduced.
Using the Corner Wizard to analyze left-hand corners specifically can reveal opportunities to improve rotation and grip. Adjustments to springs, camber, caster, and toe can all contribute to this bias, but they must be applied carefully to avoid creating instability in other parts of the track.
You can find more setup guides here
Discover more from Virtual Race Car Engineer
Subscribe to get the latest posts sent to your email.